The professional artist behind Fergus the Horse shares a lesson in how to draw realistic horses. Here, we focus on drawing in black and white. In Part 2, we’ll learn how to add color.
If you like drawing horses, you’re in for a lifetime of wonderful study! Yes, study. Drawing is studying. (That’s why an artist works in a “studio.”) But when you study something you love, it isn’t work. If you can hang around live horses, that’s the best influence. Photos and video are also fabulous reference.
But be very careful if drawing from phone photos: They create awful distortion. You know how the horse’s nose is HUGE in the foreground, or your cousin’s head in the top left corner is stretched? Yeah … don’t use photos like that, because they’ll desensitize you to that awful distortion. To draw a horse well, proportions are very important. Phone photos skew proportion.
To start with, find a good, clear photo that you’d like to draw. Then search for all the places on the horse where the bone is right under the skin (even on an overweight horse). You’ll find the withers, point of hips, point of shoulders, stifles, elbows, and of course many places on the head and the legs from knees and hocks down.
Find these places on all different breeds of horses. Commit these areas to memory. They will always be points of reference because drawing isn’t really about what you do with your hand or your pencil, it’s about learning how to look.
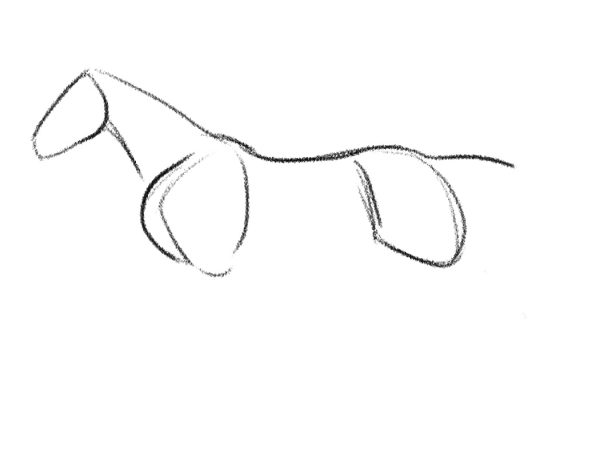
1. Beginning
Let’s draw a full figure of a horse galloping. Keep in mind that drawing a horse is complicated, so be patient with yourself if your drawing doesn’t “look right.” Just keep trying.
Action in a body—of any mammal—always begins in the shoulders and hips (pelvis). A horse’s head and neck are also a key part of its balance.
Begin with some guidelines indicating the head, neck, hips and shoulders. This establishes the first basic position of your horse’s body in space.
If you can watch horses run on YouTube, hit the “pause” button and memorize how these body parts move. Observe where the shoulder blades (scapulas) are and where the pelvis is, and how they move through stride.
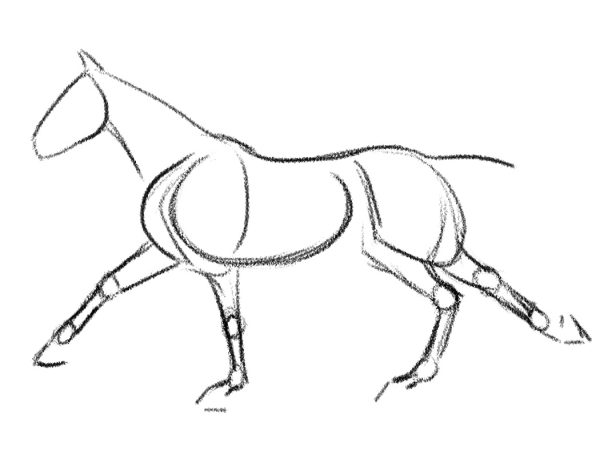
2. Establishing Barrel and Limbs
In the next step, I’ve indicated the horse’s barrel by making a large oval that represents the location of the rib cage. That gives the hips and shoulders something to move around.
You’ll see that I’ve put circles where the joints are: knees, hocks, and fetlock joints.
Again, video is a wonderful tool to watch how horses move. Pull up video in slow motion or real time and work that pause button until your finger is sore. Watch the joints and see how far they flex and extend.
This won’t stop you from making mistakes in your drawing, but as you learn how to look and see, it will very likely help you gain a subconscious understanding of what looks “right.”
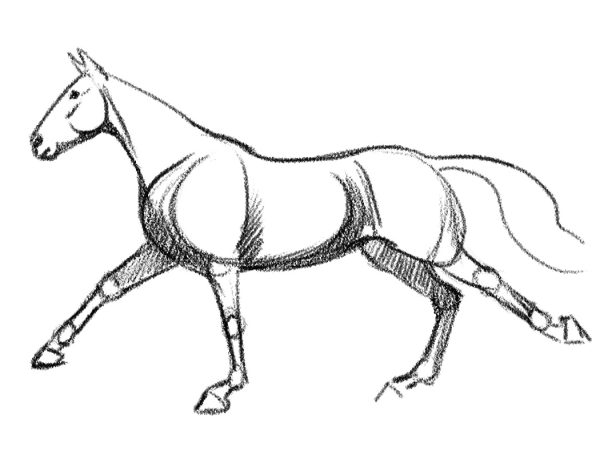
3. Refining Shadows
Shadows are created by an absence of light. To make shadows, you have to know where the light source is. With horses outdoors, it’s generally somewhere above the horse.
Use reference photos that are outdoors rather than in an indoor arena. Arena lighting is often very poorly defined, vague, and will confuse you if you’re looking for shadows.
Shadows are what give form to the horse’s body. If the sun is above, then the shadows will be underneath. The sun will probably not light up the horse’s chest, behind the elbow (where the girth lies), or the underbelly or inner thighs. This is where the shadows will be.
The darkened areas also serve to clarify which forelegs are right and left and which hind legs are right and left. There is usually a shadow defining the horse’s jaw, throat, and the muscle down the neck. The underbelly, too, will be in shadow. When you look at photos and watch video, notice how the light and shadows play in these areas.
Draw right over your guidelines to create the shadows.
4. Cleaning Up
This is where your eraser becomes a handy tool. You see, an eraser isn’t just for correcting mistakes—it’s also a drawing tool. It can change dark areas to light areas.
Use your eraser to remove some bits of the guidelines that you no longer need. You can also use it to blend and soften the shadowed areas. You can tidy up small details like hooves and muzzle.
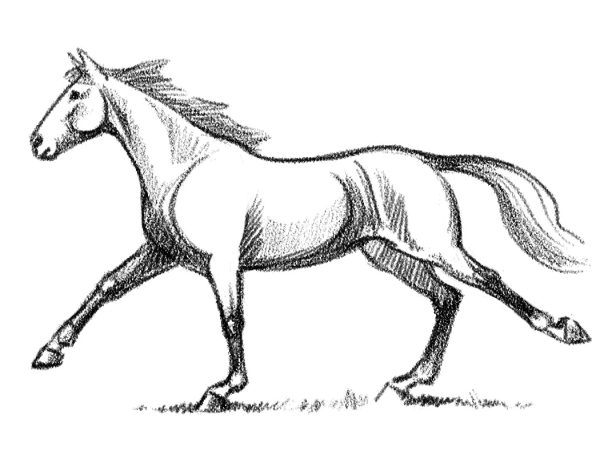
Going back to your pencil, add mane and tail, and with a few little scratchy strokes, give your horse some grass to run on.
Practice will never make you worse—it will only make you better. So practice, practice, practice. Enjoy the process!
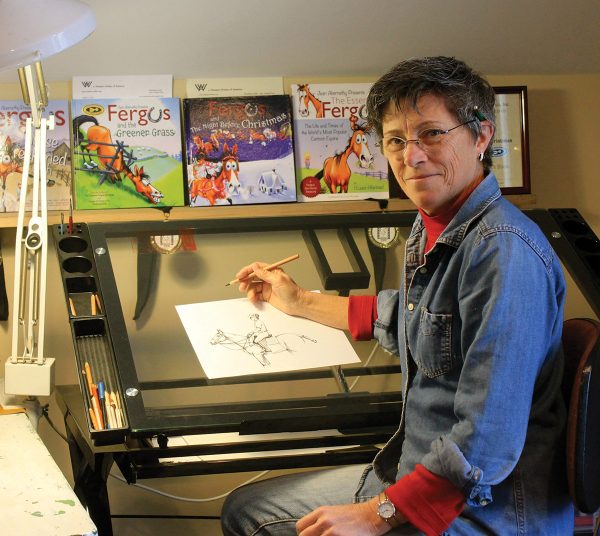
| Meet the Artist Jean Abernethy grew up on a small family farm where she learned at a young age how to explore her world on horseback. She pursued a college education in equine studies, then earned her art degree at Ocad University in Toronto, Canada. Her horse illustrations and cartoons have graced equine print publications for over 30 years. Most notably, her star character, Fergus, has brought laughter to over 300,000 Facebook fans around the world. Jean has written and illustrated four books: Fergus: A Horse to Be Reckoned With; Fergus and the Greener Grass; Fergus and the Night Before Christmas; and It’s been 20 Years Fergus (and you’re still spooking at that thing?). |
This article about how to draw horses appeared in the May/June 2023 issue of Young Rider magazine. Click here to subscribe!

